Speed Paint Challenge · The Process

Happy Miniature Monday! As you may know, last week I invited a fellow miniature painter to join me in a Speed Paint Challenge. I cataloged each step of the process so I could share it here! First, my painting setup:

Clean brush & mounted mini? Check. Chilean wine? Check. Wet palette & water cup? Check. I'm ready to go! (Though I don't recommend placing your beverage of choice too so close to your paint water... for obvious reasons).

The Color Palette

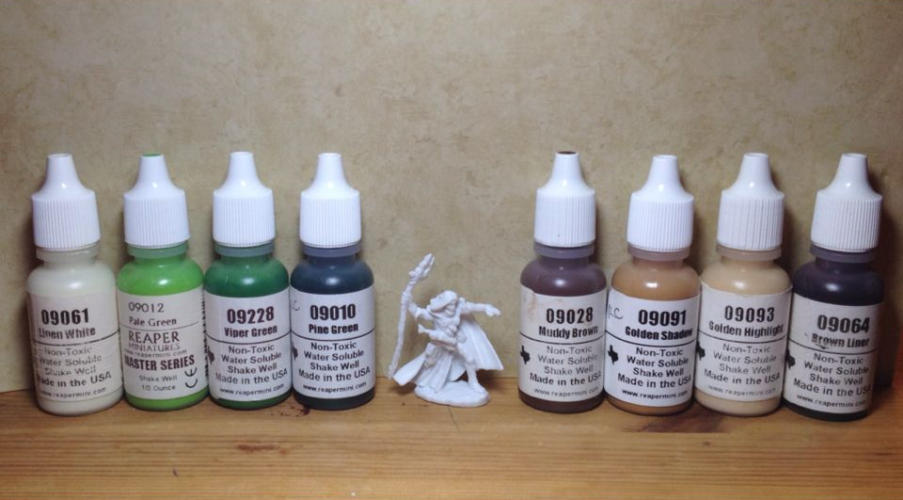
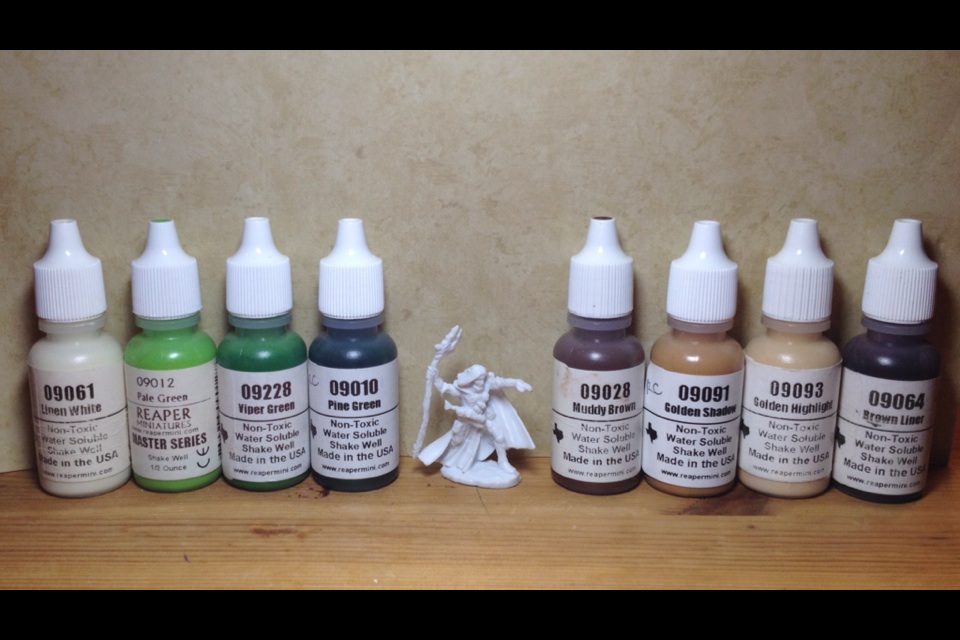
Color Limit: 6 Earth Tones, 2 Neutrals [+1 Metallic if needed]. My choices from the Reaper paint line:

  • Neutrals: Linen White, Brown Liner
  • Greens: Pale Green, Viper Green, Pine Green
  • Browns: Muddy Brown, Golden Shadow, Golden Highlight

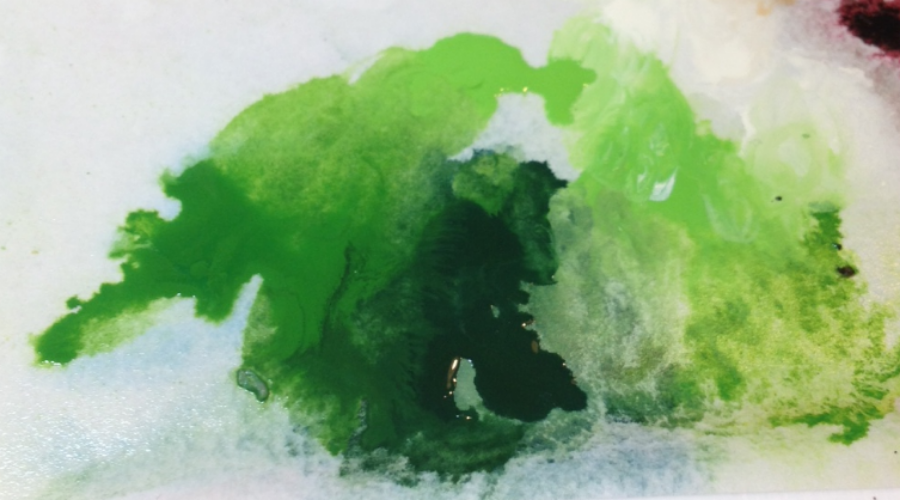
In retrospect, I could have chosen a wider color palette. However, I kept the green shades close together in order to make mixing easier and therefore streamline the layering process on the cloak. 

Time Limit: 4 hours

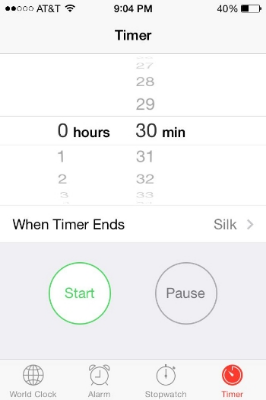
I chose to paint in 30 minute increments over the course of two nights. To make sure I didn't lose track of time, I'd set a timer on my phone. When the alarm went off, I would put my brush down & take a short break. In that time, I'd decide what to paint next & make sure I was still managing my time wisely-- a great habit I'm trying to create for myself.

Step-by-Step Front


Step-by-Step Back


The Results

The staff was a happy accident. Since Bones are made of plastic, sometimes they get warped and bent. It's an easy fix to soak them in hot water and reposition them while they cool. However, I figured I'd work with the bent staff as-is and paint it as if it were a living, magical vine. I'm also happy with how his eyes turned out-- I painted just enough detail where he has delineated green irises but no pupils. 

As I neared the end of the last timed segments, I focused on small highlights and minor details. With two minutes left, I realized I had entirely forgotten to paint his base-- whoops! I was only able to put a thin base coat down before the timer went off. Once it dried, I refrained from going back to paint another layer. I stayed true to the time limit. It was a good lesson to learn-- that's what makes it a fun challenge!

Speed Paint Challenge

Lately, I've been contemplating on how speed painting might help me develop into a stronger miniature painter. When I attended ReaperCon, I had the privilege of picking the brain of Derek Schubert, miniature painter, sculptor, and speed painter extraordinaire. Sometime soon I need to write a blog post about the totally awkward (on my part) yet inspiring experience. I've wanted to write about it since early May. Stay tuned for that!

Since then, I've realized that there is no magical element or secret to speed painting. In fact, I firmly believe that it's all in the approach. The more preparation there is, the less likely you'll need to repaint sections of the miniature due to impulsive and/or poor decisions (mostly regarding color). In my opinion, speed painting is most successful after thoughtful and clever planning. It doesn't take much, and the initial thought that you put in will definitely show. I truly believe that Derek Schubert can analyze a miniature and "see" the final application of colors coming together on a finished miniature before he even picks up his paint brush. The man just doesn't make mistakes. Again, I digress!

My first speed painting endeavor was a failed attempt because I just didn't plan well. I picked colors I liked, and since I had a hard time narrowing them down, I attempted to use them all. I started slapping paint on the miniature, focusing only on the speed in which I applied paint. I didn't want to take time to layer colors for smooth blending, so I didn't thin down my paint. Once I realized my mistakes, it was too late. My alternatives were either repainting sections while building unwanted chunky textures or rethinking the entire color scheme. It was frustrating. In the end, I named him Skittletor after the candy with the slogan "Taste the Rainbow". Skittletor looked like he lost a fight with an angry color wheel. Red, brown, orange, red, teal, navy blue-- he had it all. While I don't consider him a painting success, I learned some valuable lessons in the process.

I found I prefer very tight color schemes. In the past, I tried to use more colors in the hopes that it would result in a more dynamic miniature. Instead, I like using one or two bright colors and a few neutrals. It keeps the focus in places I want to highlight, and having only one or two main colors keeps other parts of the mini from competing for attention. In addition, I'll use different shades of the same color in several places on the miniature to create an overall visual unity.

I also fully admit: I struggle with metals. Despite looking up real metal image references, I find it difficult to find where the light reflections are supposed to fall when considering the light source. I think using metallic paints are an easy way around this, however, I find the final effect highly distracting when compared to the matte paint finish on the rest of the mini. Any highlights I paint on matte surfaces are often upstaged by natural light reflections in the metallic paint that are beyond my control. Because of that, I try to avoid painting metal when speed painting-- at least for now. My speed painting will involve honing skills and finding ways to apply them more efficiently, not attempting to solve my most difficult painting barriers... which brings me to the Speed Paint Challenge!

Recently a Twitter friend & fellow miniature painter took my Genasi Warden speed paint exercise and turned it into a personal challenge. He used the same Reaper Bones miniature with similar paint colors-- he did a great job given only 2.5 hours! I decided to continue the fun and invited him to join me in a #speedpaintchallenge with a new Reaper Bones miniature and we agreed to these guidelines:

Speed Paint Challenge Rules

  • Colors: 6 earth tones, 2 neutrals [+ 1 metallic if needed]
  • Time Limit: 4 hours or less
  • Miniature: Elquin, High Adventurer · Reaper Bones #77092 ($2.49)
  • Deadline: next Miniature Monday : September 1st, 2014

Here's my chosen color scheme:

Reaper paints shown [L to R]: Linen White, Pale Green, Viper Green, Pine Green, Muddy Brown, Golden Shadow, Golden Highlight, Brown Liner

We'll both feature our results via Twitter and I'll include my process in next Monday's blog post. Let the speed painting begin! 

Taking Pictures

I have a lot to learn when it comes to taking decent miniature photos. I know it's one of the most important things to get right-- why spend the extra time painting display miniatures if you can't take decent pictures of them? They're difficult to photograph since the miniature scale is so small and the details are even harder to capture with an average camera phone. I've seen various set-ups of small studios with camera tripods and light boxes-- though the professional-grade equipment is a considerable financial investment. I've also seen home-made light boxes and economical solutions that seem to yield quality photos that fit the needs of most painters.

While images of the most-recently-completed Troll Axer mini are posted here, I have a long way to go before I can photograph them with perfect diffused lighting, etc. So far, I've been taking pictures with awkwardly-placed desk lamps, scrapbook paper backgrounds I found at my local Hobby Lobby, and my iPhone4. Since I've practicing new & different techniques as I build on my experience, that's been totally acceptable. However, it's time I thought about investing in a proper camera.

I gave myself a goal of painting & blogging consistently for 6 months (I started April 2014), and only then will I allow myself to start looking a decent camera. It's the next practical step and I know it will motivate me to commit the time needed for bigger projects & display-quality miniatures. In the meantime, I'm focusing on speed painting to learn how to paint faster and smarter!

Troll Axer • More photos here