Legs for Days

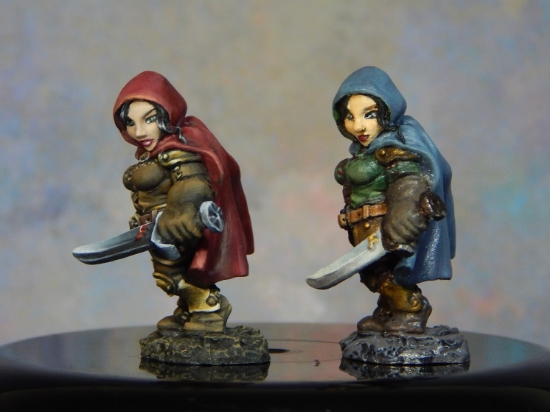
Let's talk stockings. I'm currently working on a steampunk miniature and I'm painting semi-opaque leggings. Stocking sheerness can range anywhere from a silky, transparent nylon (left) to a thicker, more opaque version (right). 

I've watched a few video tutorials on transparent fabric, including the one on Dark Sword Miniatures's DVD featuring Jessica Rich. Not only is Jessica a fantastic painter, she's also a cool person. She donated 20% of the proceeds to RAINN and signed copies for those who bought the DVD through her website-- I'm happy to have been one of them! 

I am now selling 70 copies of my DVD set where 20% of the proceeds will go to RAINN (Rape, Abuse and Incest National Network). This charity is dear to me, and has helped over 1.5 million victims of sexual assault since it’s founding in 1994. Here’s a link to their site if you’d like more information: www.rainn.org
— Jessica Rich (www.brushmistress.com)

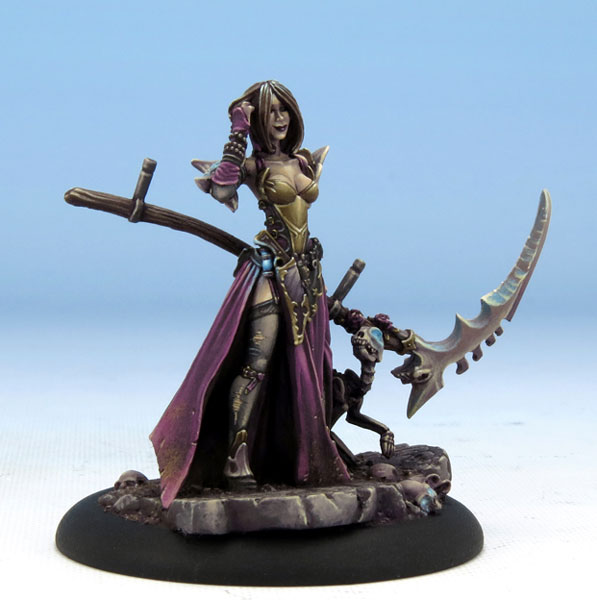
"Jen - Harvester of Souls" sculpted by Jeff Grace; painted by Jen Haley (click for the link to Dark Sword's website)

Marike Reimer also has some great examples of wet/transparent cloth-- check out her Cersei Lannister and "Woman Emerging from Water" both from Dark Sword miniatures and sculpted by Tom Meier. While those are undoubtedly amazing examples of painting transparent cloth, I'm attempting to paint darker sheer fabrics, similar to Jen Haley's "Jen - Harvester of Souls" that Jeff Grace sculpted of her for Dark Sword Miniatures. I am in love with the way Jen painted sheer, ripped stockings. Also, how cool must it have been to paint a miniature of one's self? 

My goal is to recreate this sheer stocking effect and, if it goes well, also paint some rips (Lord, help me). The rest of this miniature is still under construction and I'm keeping her upper half a secret until it's done. However, I can tell you that painting in 75mm scale is difficult. It's definitely a switch and I think I need to increase my brush size. It's taking some serious patience. However, I've done a lot of research-- now it's time to use it all and create some great results!

Bailey Silverbell: Then & Now

She's done! In between current projects I've been painting Bailey Silverbell, a Reaper miniature sculpted by Werner Klocke. I painted a version of Bailey back in Spring 2012 and I wanted to see how far I've come since then. Bailey was the second miniature I ever painted (Anwyn was my first) and it was the first time I'd ever painted a cloak. I used mostly Games Workshop paints back then, except for the blue cloak which was a Reaper paint. When I was done painting her, I sealed her with a thick spray gloss (yuck!) and learned that I preferred the matte Reaper paints. When she was done I was so proud. "Look! I painted eyes!" and despite her slight Strabismus (crossed-eyes), she was perfect to me at the time. 

As you can see, I've made quite a bit of progress in my painting skills! I'm now trying my hand at techniques like Non Metallic Metals and my levels of contrast and detail are much improved. I remember thinking back in 2012, "How do people paint the stitches? They're too small!" and now I'm able to paint them well. I'll be adding the new Bailey to a more detailed base and I'm thinking of adding some colorful glazing to her dagger, depending on the base colors it would reflect. The positioning of her dagger is also slightly different this time. Her dagger now is held in a defensive position, where the old Bailey's dagger seems kind of droopy and her arm angle is less natural. 

I'm very happy with how her cloak turned out-- I painted lighter edges of the hood and shoulders like a soft leather would show wear. I also like how the new color scheme is more realistic in its leather colors. I kept the same "Snow White" theme, complete with fair skin and bold red lips. However, my choice of cloak color makes her look a lot like "Little Red Riding Hood". I'm thinking of putting her on a base with a big, bad wolf. But enough about future plans-- here's the best part with side-by-side comparison pictures with her previous counterpart!


Give Her a Hand, Folks!

Her arm is finally attached, hooray! I'm disappointed that her dagger covers the interesting section of her armor, but I could angle it in a way that wasn't horribly obvious at her elbow socket. I still need to paint her base and fiver her a few touch-ups, but overall, she's 95% done! I'm not totally happy with the lower edge of her dagger, so I'll see if I can add some more interest and shading to it-- probably a small blended dark black just below the midline (which is crooked now that I'm seeing these zoomed-in pictures).

I'm really happy with how her cloak turned out. I wanted to give it a sort of rugged effect like the edges by her face have been faded and worn like leather. While I'm going for the Snow White effect, I still need to give her jet black hair some highlights. 

As far as the base goes, I'm considering adding some snow effects and I'm sorely tempted to add some blood spatter to the edge of her dagger and in the snow at her feet. We'll see what's in store tonight! 

A lovely highlight to my week has been a special care package from Clint & Yeji of Models Workshop (you know, the hoodlums from the podcast). While this has been an especially rough week for me, it lifted my spirits and made me smile-- surprise! I love my new chibi Twilight Knight, thank you! What's even better, they sent me two Halloween-themed straws. (Long story. If you want in on the inside joke, listen to Episode 19 where I think Joe's using straws for some advanced painting technique). Goofiness abound! Either way, I'm really grateful for people I've met through this hobby. I can't wait to paint my very first chibi miniature!